Railway
For a simple Bun server deployment you can use Railway by changing just a few lines of code.
Update app export
Update the code inside server/src/index.ts and use the export below which gives Railway access to the host and port.
srver/src/index.ts
import { Hono } from 'hono'
import { cors } from 'hono/cors'
import type { ApiResponse } from 'shared/dist'
const app = new Hono()
app.use(cors())
app.get('/', (c) => {
return c.text('Hello Hono!')
})
app.get('/hello', async (c) => {
const data: ApiResponse = {
message: "Hello BHVR!",
success: true
}
return c.json(data, { status: 200 })
})
export default app;
export default {
port: Number(process.env.PORT) || 3000,
hostname: '0.0.0.0',
fetch: app.fetch,
};Add start command
Inside the root package.json add a new start command that will be used by Railway for deployment
package.json
// Rest of package.json
"scripts": {
"dev": "turbo dev",
"dev:client": "turbo dev --filter=client",
"dev:server": "turbo dev --filter=server",
"build": "turbo build",
"build:client": "turbo build --filter=client",
"build:server": "turbo build --filter=server",
"lint": "turbo lint",
"type-check": "turbo type-check",
"test": "turbo test",
"postinstall": "turbo build --filter=shared --filter=server",
"start": "bun run server/dist/index.js"
},Deploy on Railway
Login to your Railway account and create new project from your Git source
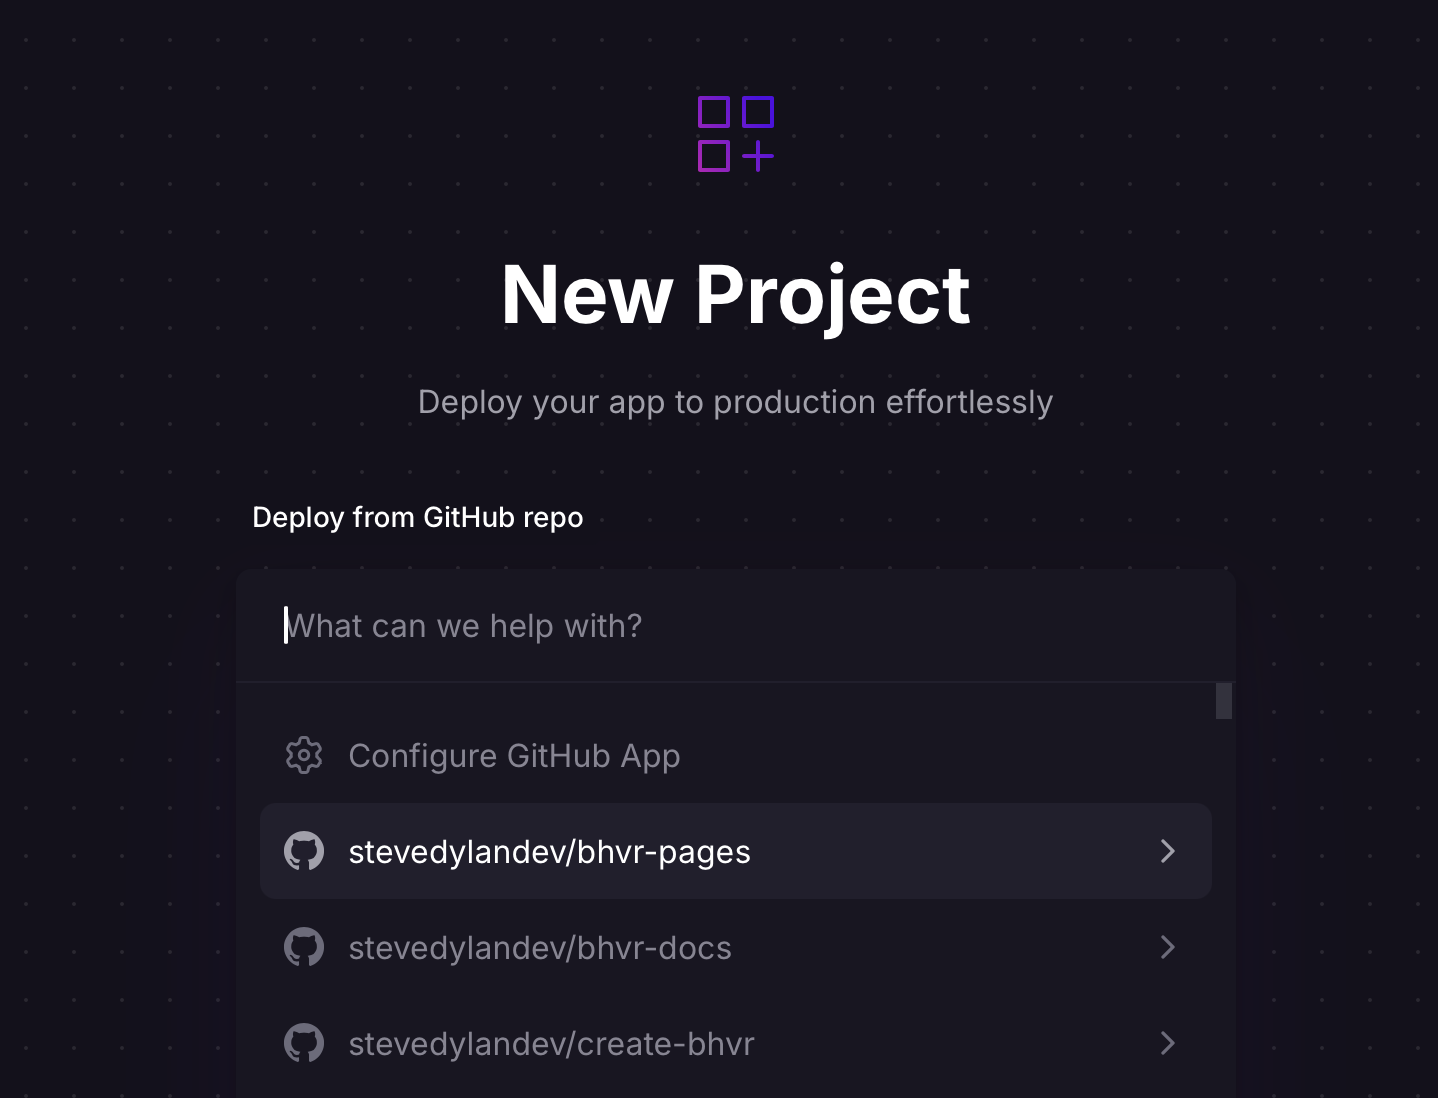
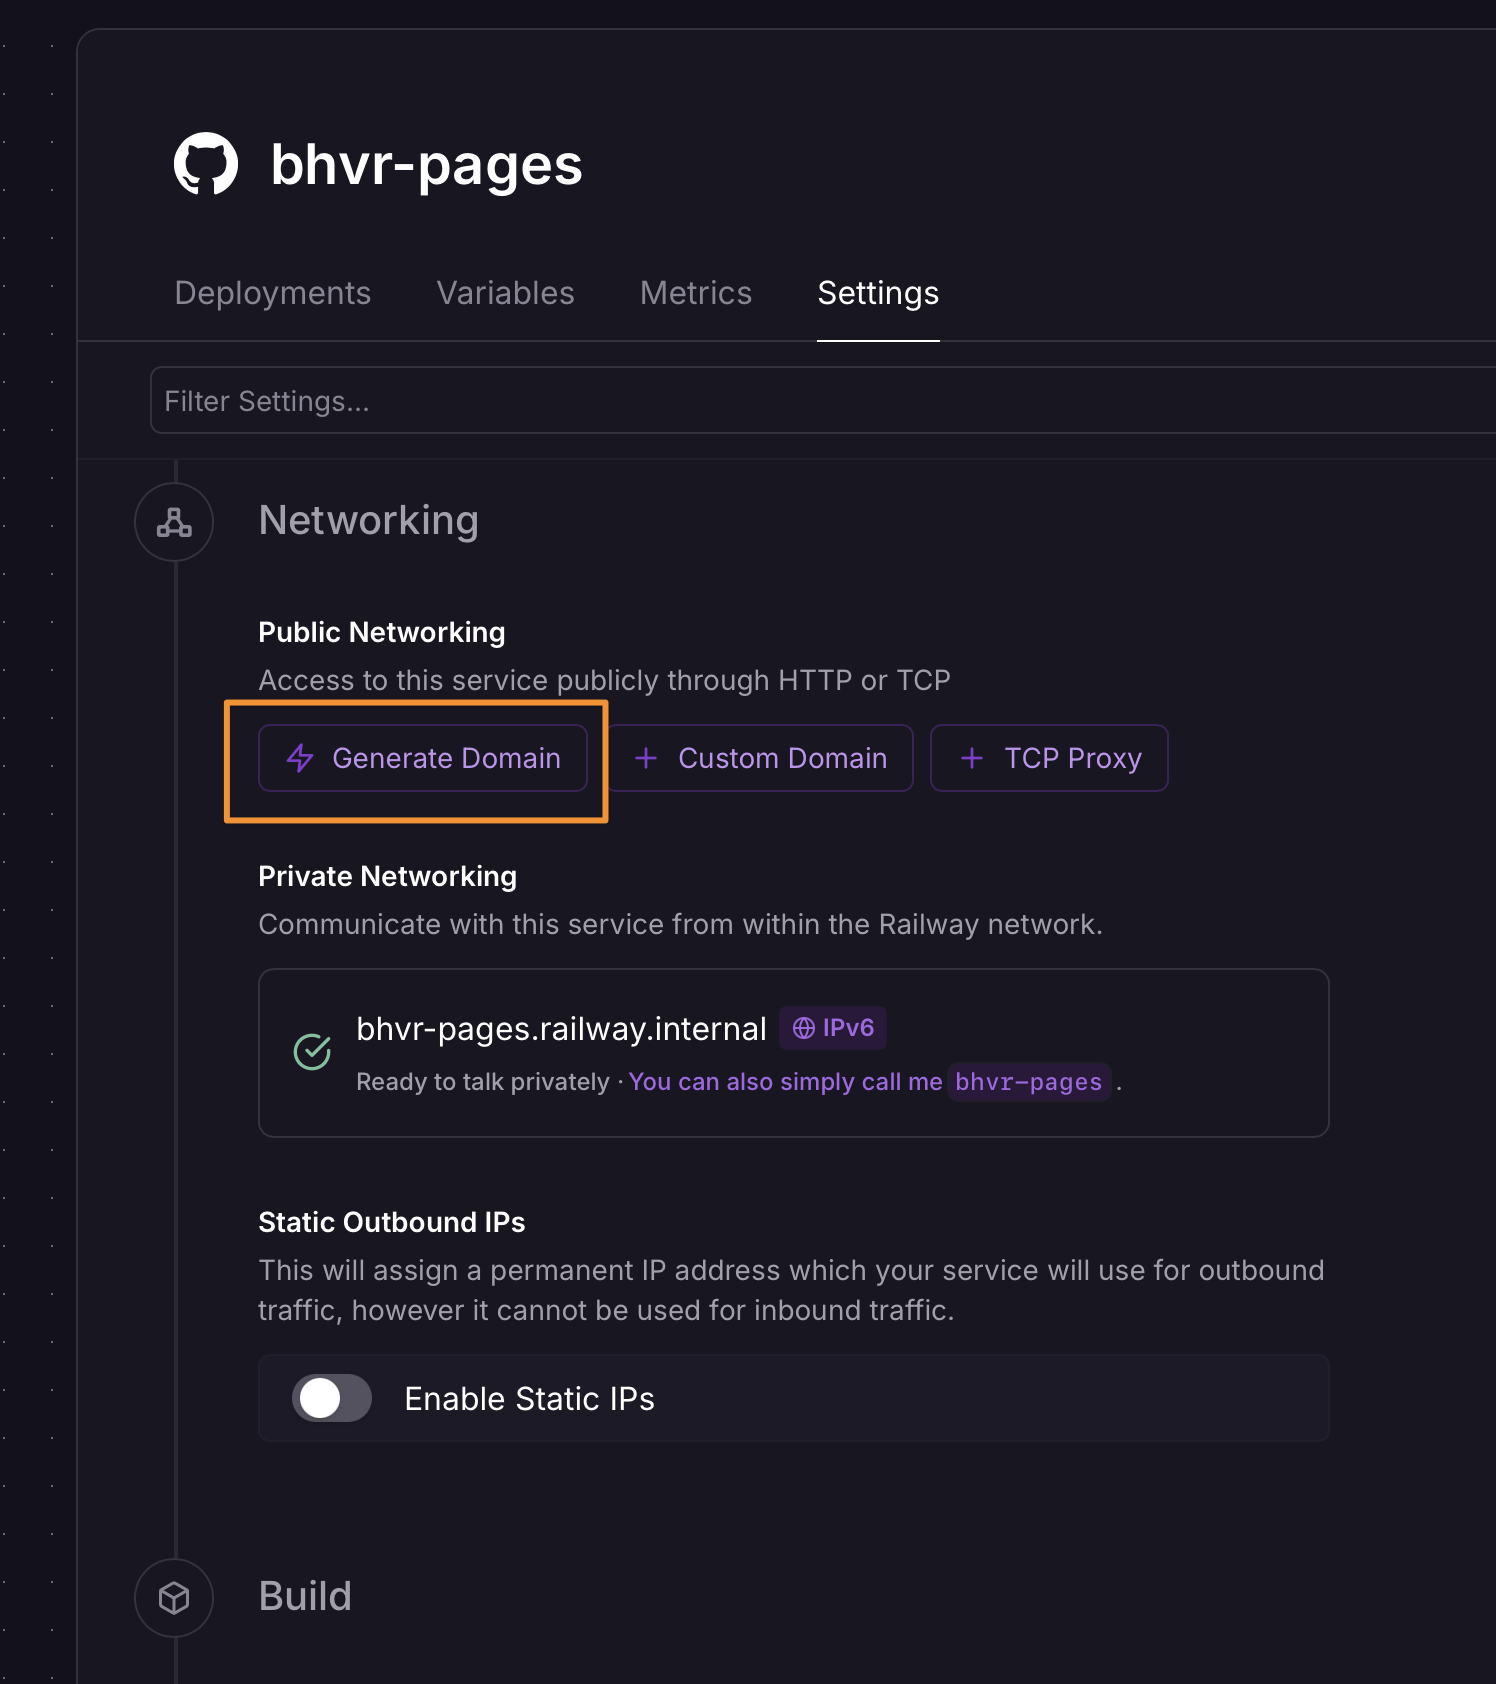
After selecting the repo with your changes from the previous steps it should automatically deploy your instance! To access it from a public URL go to the instance settings, and under Networking click Generate Domain